

Vintage and antique jewelry has a charm that new pieces can't copy: hand-cut stones, old-world craftsmanship, and decades of history. But that history usually shows up in photos too. Tarnished silver, cloudy stones, worn polish, tiny scratches and grime in every crevice can make a beautiful 1920s ring look tired on screen, even when it looks stunning in person.
If you sell estate, vintage or pre-owned jewelry online, the challenge is clear: how do you make vintage jewelry look new in photos without misrepresenting it? In this guide we'll cover the full process, from cleaning and photographing the piece to the retouching techniques professionals use to restore its shine, while keeping every photo honest about the item a buyer will actually receive.
First, a Word on Honesty
Before we talk techniques, it's worth setting one ground rule. With vintage jewelry, the goal of retouching is to make the piece look like its best self, not like a different piece. That means:
- Do remove dust, lint, fingerprints, background mess and photographic problems like glare and color casts.
- Do restore brightness and shine that the camera failed to capture.
- Don't hide real damage such as chips, cracks, missing stones, bent prongs or worn-through plating.
- Don't change the color of stones or metals, or make a stone look clearer than it is.
Buyers of vintage jewelry expect some wear. What they don't accept is a surprise. Clean, bright photos plus one or two honest close-ups of any flaws build far more trust (and fewer returns) than a "perfect" photo that doesn't match the real piece.
Step 1: Clean the Piece Before You Shoot
The best retouching starts before the camera comes out. Every speck of grime you remove physically is one less thing to fix digitally, and physical cleaning gives a more natural result than any edit.
Gentle cleaning for most pieces
- Use warm water with a drop of mild dish soap and a very soft brush (a baby toothbrush works well).
- Rinse carefully and dry with a lint-free microfiber cloth.
- Use a jewelry polishing cloth on gold and silver to lift surface tarnish.
- Wipe every piece again with a clean microfiber cloth immediately before shooting.
When to be careful
Some vintage materials are delicate. Pearls, opals, turquoise, coral, amber, enamel and foil-backed stones can be damaged by water, chemicals or ultrasonic cleaners. Many collectors also prefer the natural patina on antique silver and gold. If you're not sure, skip aggressive cleaning and let the retoucher handle the visual cleanup instead. It's always safer to fix a photo than to damage a one-of-a-kind piece.
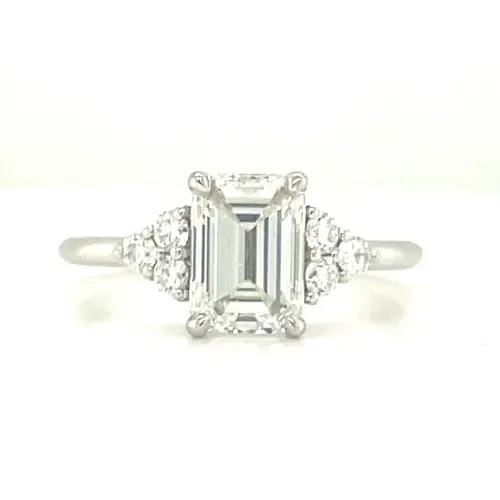
Step 2: Photograph Vintage Jewelry the Right Way
Good photography makes retouching faster, cheaper and more convincing. Vintage pieces have a few extra quirks, so here's what to focus on.
Use soft, diffused light
Harsh direct light exaggerates every scratch and dent on old metal. A light tent or two softboxes with diffusion create even light that smooths out surface wear naturally and helps old stones glow. Avoid on-camera flash completely.
Add a small sparkle light for stones
Old mine cuts, rose cuts and old European cut diamonds have larger facets and a softer, "chunkier" sparkle than modern brilliants. A small, focused LED pointed at the stone from above brings that character out without blowing out the metal.
Shoot sharp and close
- Use a tripod and a macro lens (or the macro mode on a good phone).
- Use a small aperture (f/8 to f/16) for more depth of field, or take several shots at different focus points for focus stacking.
- Shoot in RAW if your camera allows it. RAW files hold far more detail for restoring tarnished metal.
Capture the details buyers want
Beyond the main product shot, photograph hallmarks, maker's marks, the gallery and side profile, the back of the setting, and any notable wear. These shots reassure collectors and often matter more to vintage buyers than the hero image.
Step 3: Remove the Background
A busy or uneven background makes any piece look older and cheaper. A clean white or soft neutral background instantly modernizes vintage jewelry and makes it marketplace-ready for Etsy, eBay, Amazon and your own store.
Vintage pieces often have intricate filigree, open galleries and fine milgrain edges, so background removal needs precise, hand-drawn clipping paths. Automatic tools tend to fill in openwork with leftover background or cut away delicate details, which is exactly what makes vintage pieces special.
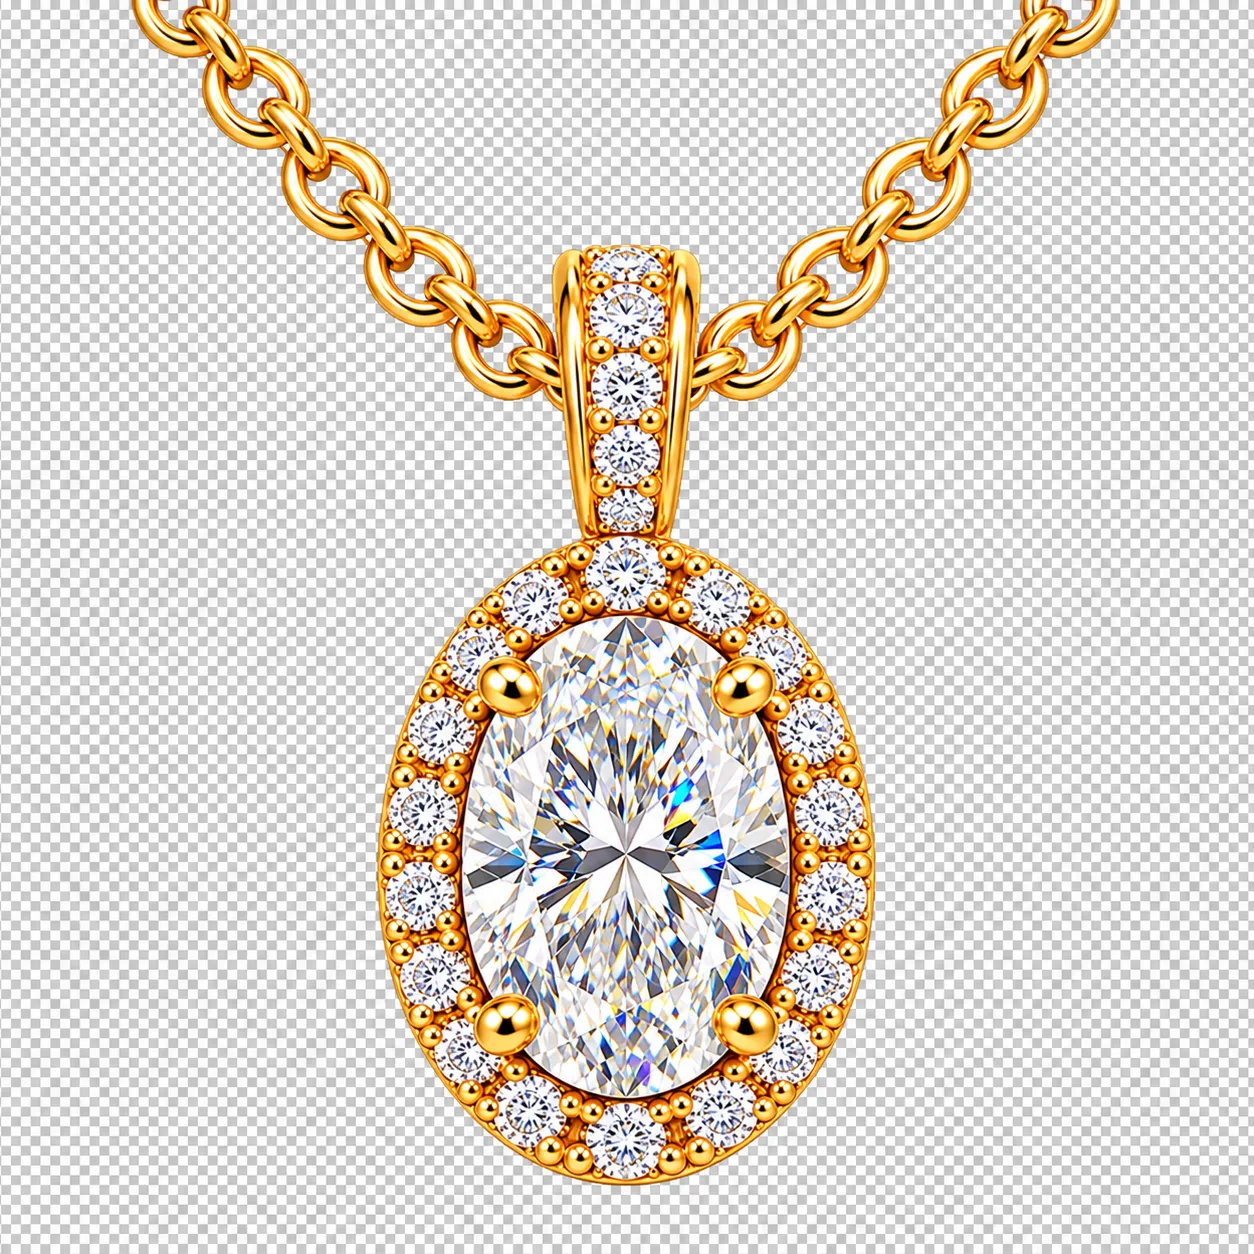
Step 4: Clean Up Dust, Scratches and Grime Digitally
Even after careful cleaning, macro photography reveals fine dust, lint, fingerprints and surface scratches. This is where retouching does its heaviest lifting on vintage pieces.
- Dust and lint are removed completely; they're not part of the product.
- Fingerprints and smudges on metal and stones are cleaned away.
- Fine surface scratches from normal wear can be softened so they don't dominate the photo, the same way they'd be less noticeable in person.
- Grime in crevices around settings and engravings can be lifted to reveal the detail underneath.
Deeper dents, chips and structural damage should stay visible, ideally with a dedicated close-up so the buyer knows exactly what they're getting.
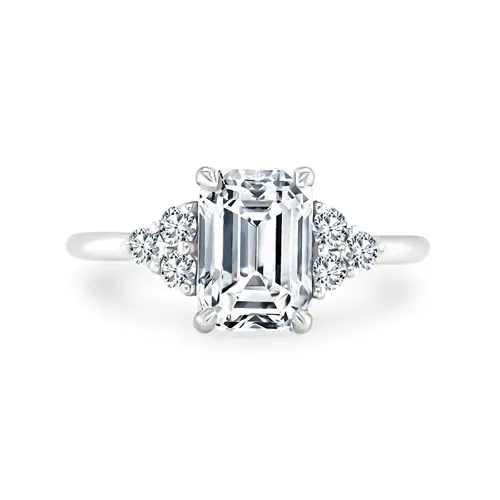
Step 5: Restore the Shine on Tarnished Metal
Dull metal is the number one thing that makes vintage jewelry look old in photos. Silver goes grey or yellow, gold looks flat and brownish, and platinum loses its bright white tone. Retouchers bring metal back to life with a few techniques:
- Tone correction to remove grey, yellow or green tarnish casts and restore the true color of the metal.
- Repainting highlights along curves and edges so the metal reflects light the way a freshly polished piece would.
- Smoothing uneven polish so the surface looks consistent instead of blotchy.
- Preserving engraving and texture so hand-worked details stay crisp and visible.
The aim is the look of a piece fresh from a professional polish, not a different metal. If a ring is 14k yellow gold, it should still look like 14k yellow gold, just clean and bright.
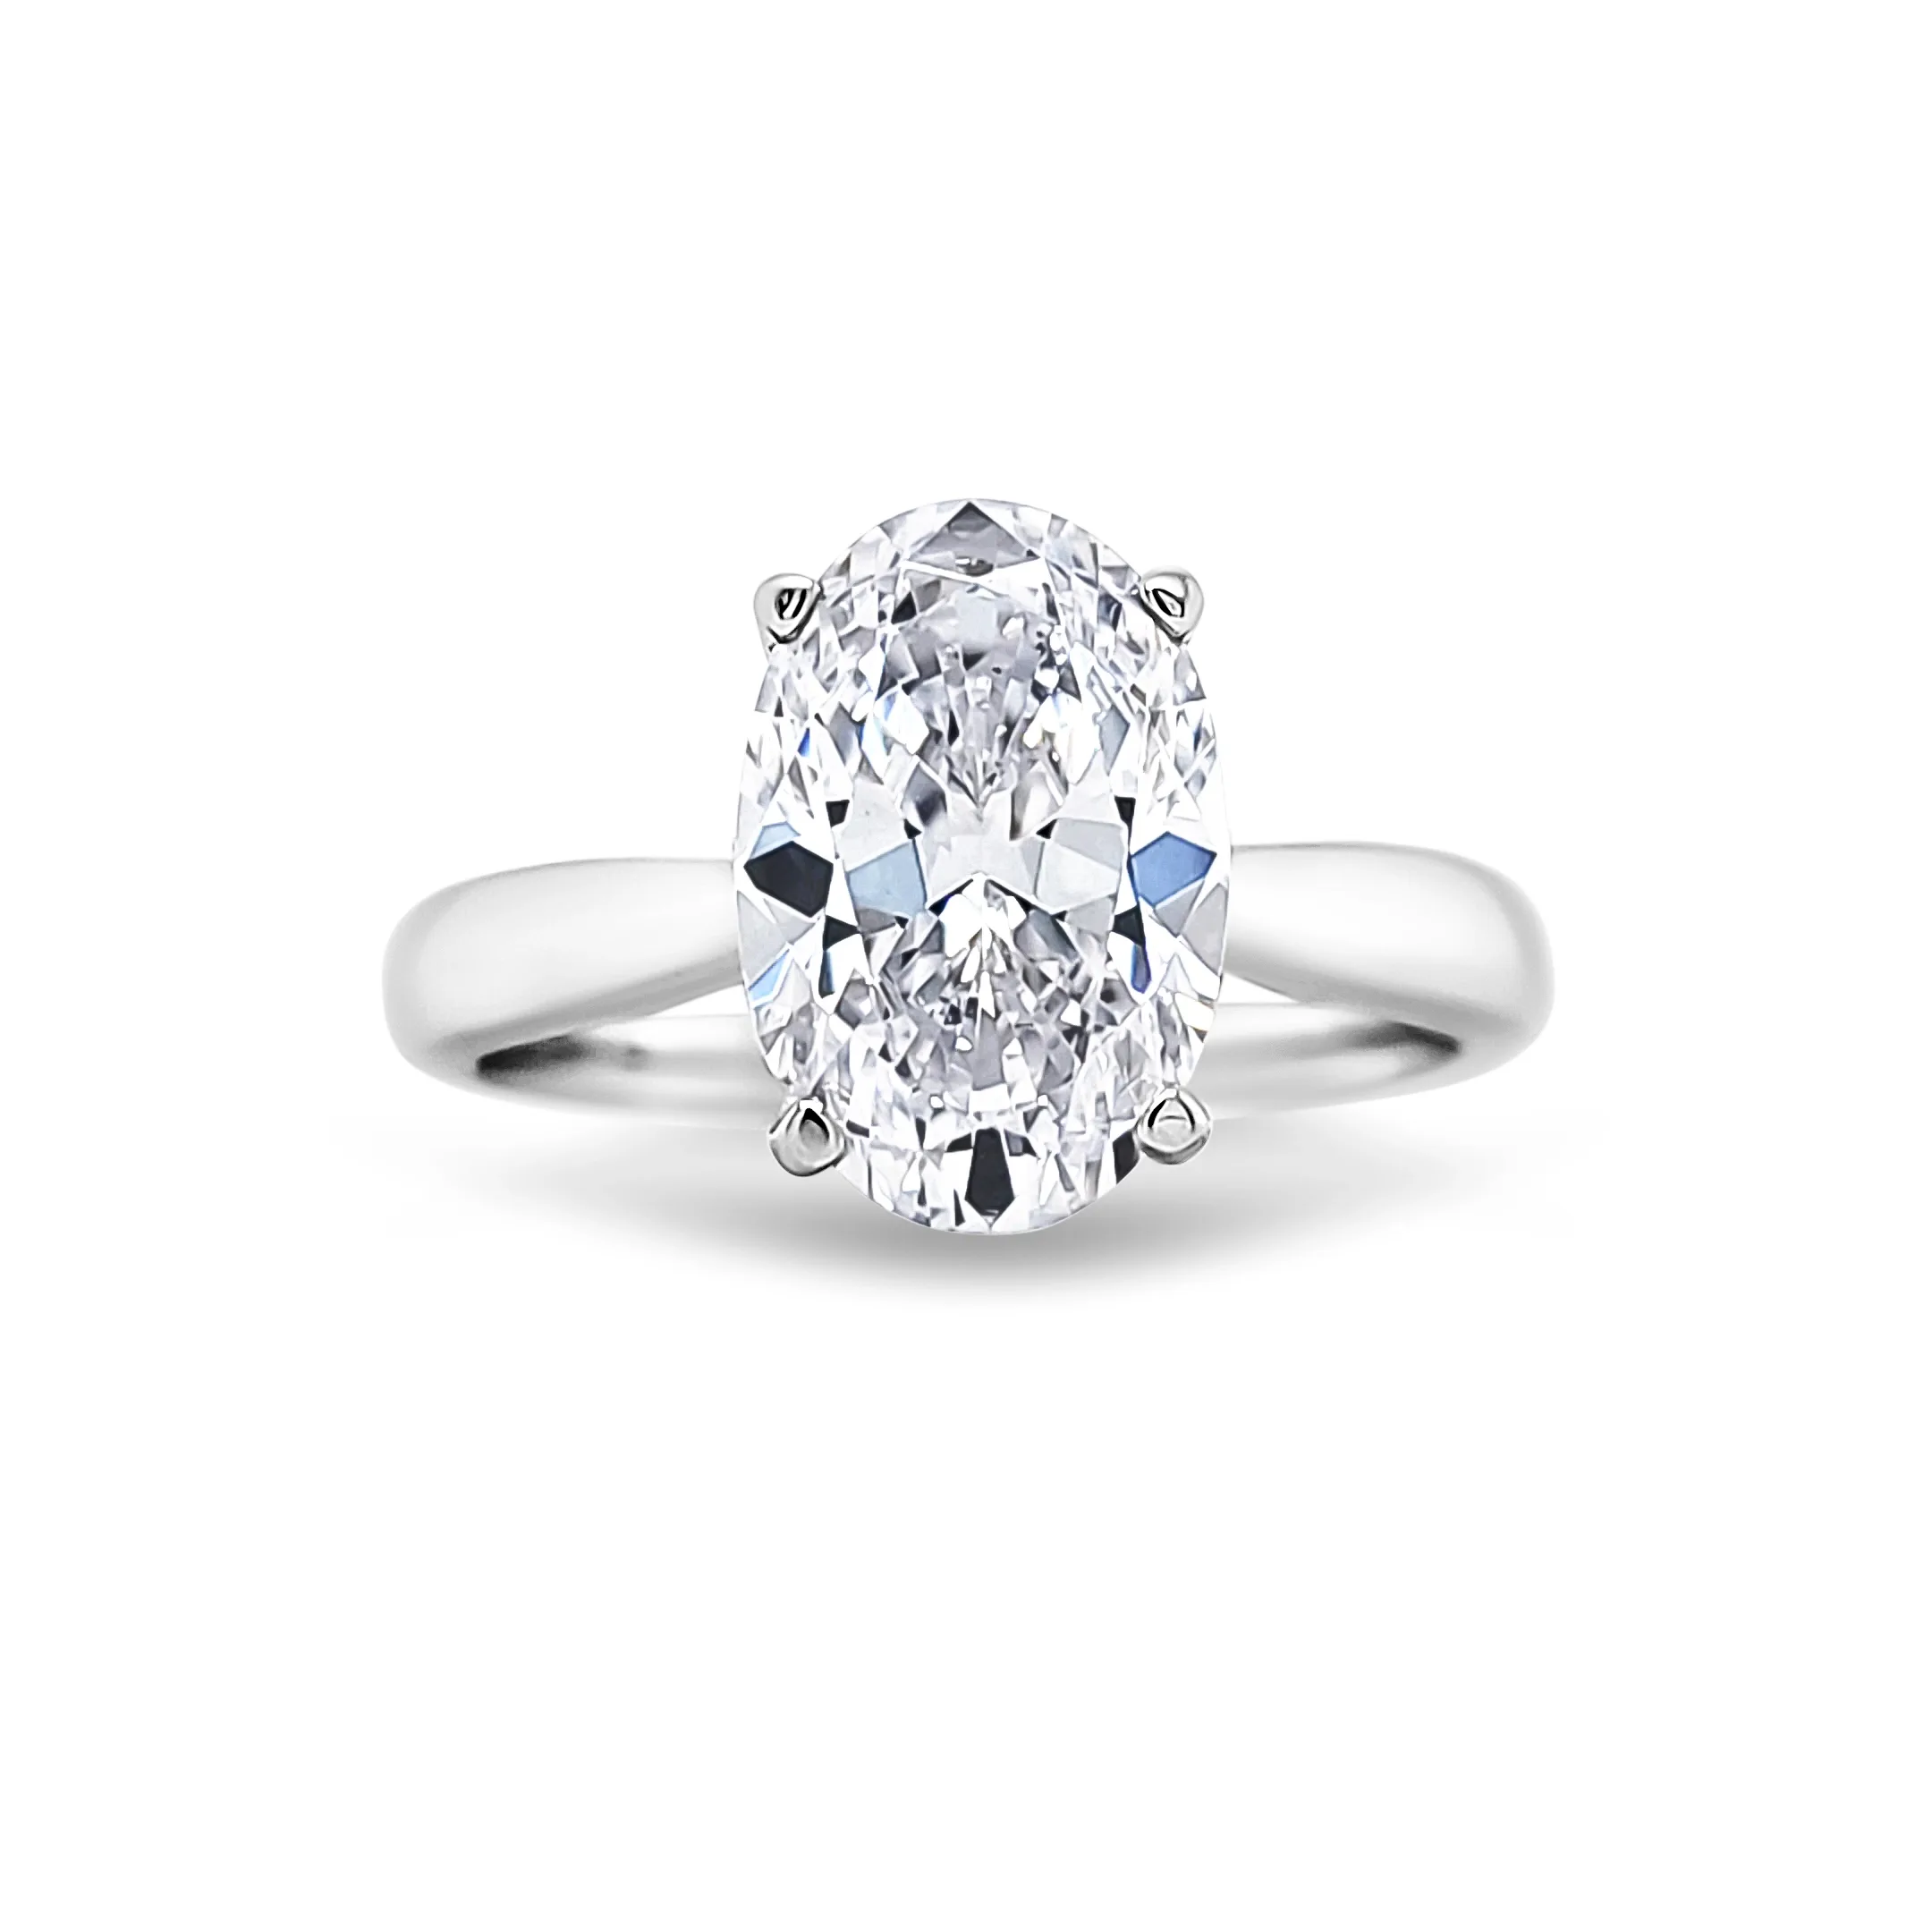
Step 6: Bring Old Stones Back to Life
Vintage stones often look cloudy or flat on camera, partly from dirt behind the stone, partly from older cutting styles that reflect light differently. Careful gem retouching can recover a lot of their beauty:
- Clarity and contrast adjustments to cut through haze and reveal the facet pattern.
- Controlled sparkle that respects the stone's original cut, such as the broad flashes of an old mine cut rather than the pinpoint fire of a modern brilliant.
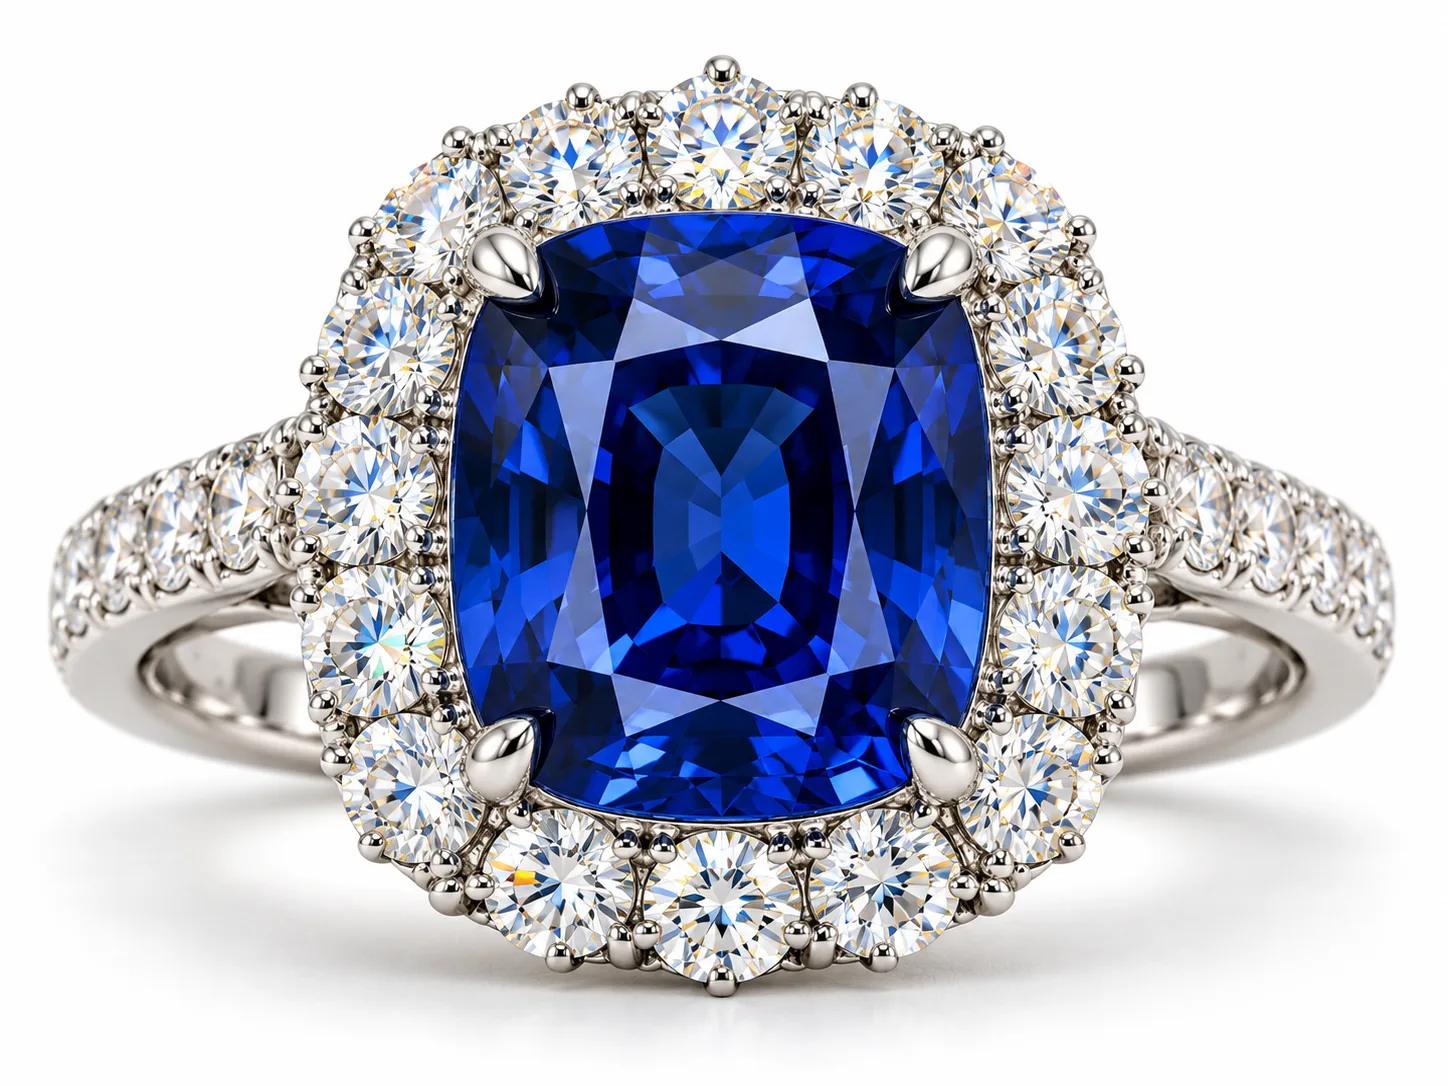
- Accurate color for sapphires, rubies, emeralds and other gems, correcting camera color shifts without making the stone more saturated than it really is.
- Cleaning the table and pavilion of dust and reflections that make the stone look dirty.
This is one of the most skill-dependent parts of vintage retouching. Over-enhancing a stone is the fastest way to disappoint a buyer, so restraint matters as much as technique.
Step 7: Fix Shape and Symmetry Issues From the Shoot
Old rings are sometimes slightly out of round, and earrings in a pair rarely sit at exactly the same angle in a photo. Small corrections to alignment, perspective and symmetry make a listing look professional and help buyers judge the piece accurately. Retouchers straighten the piece, match pairs and correct lens distortion, but never reshape the item itself.

Step 8: Add Natural Shadows and Reflections
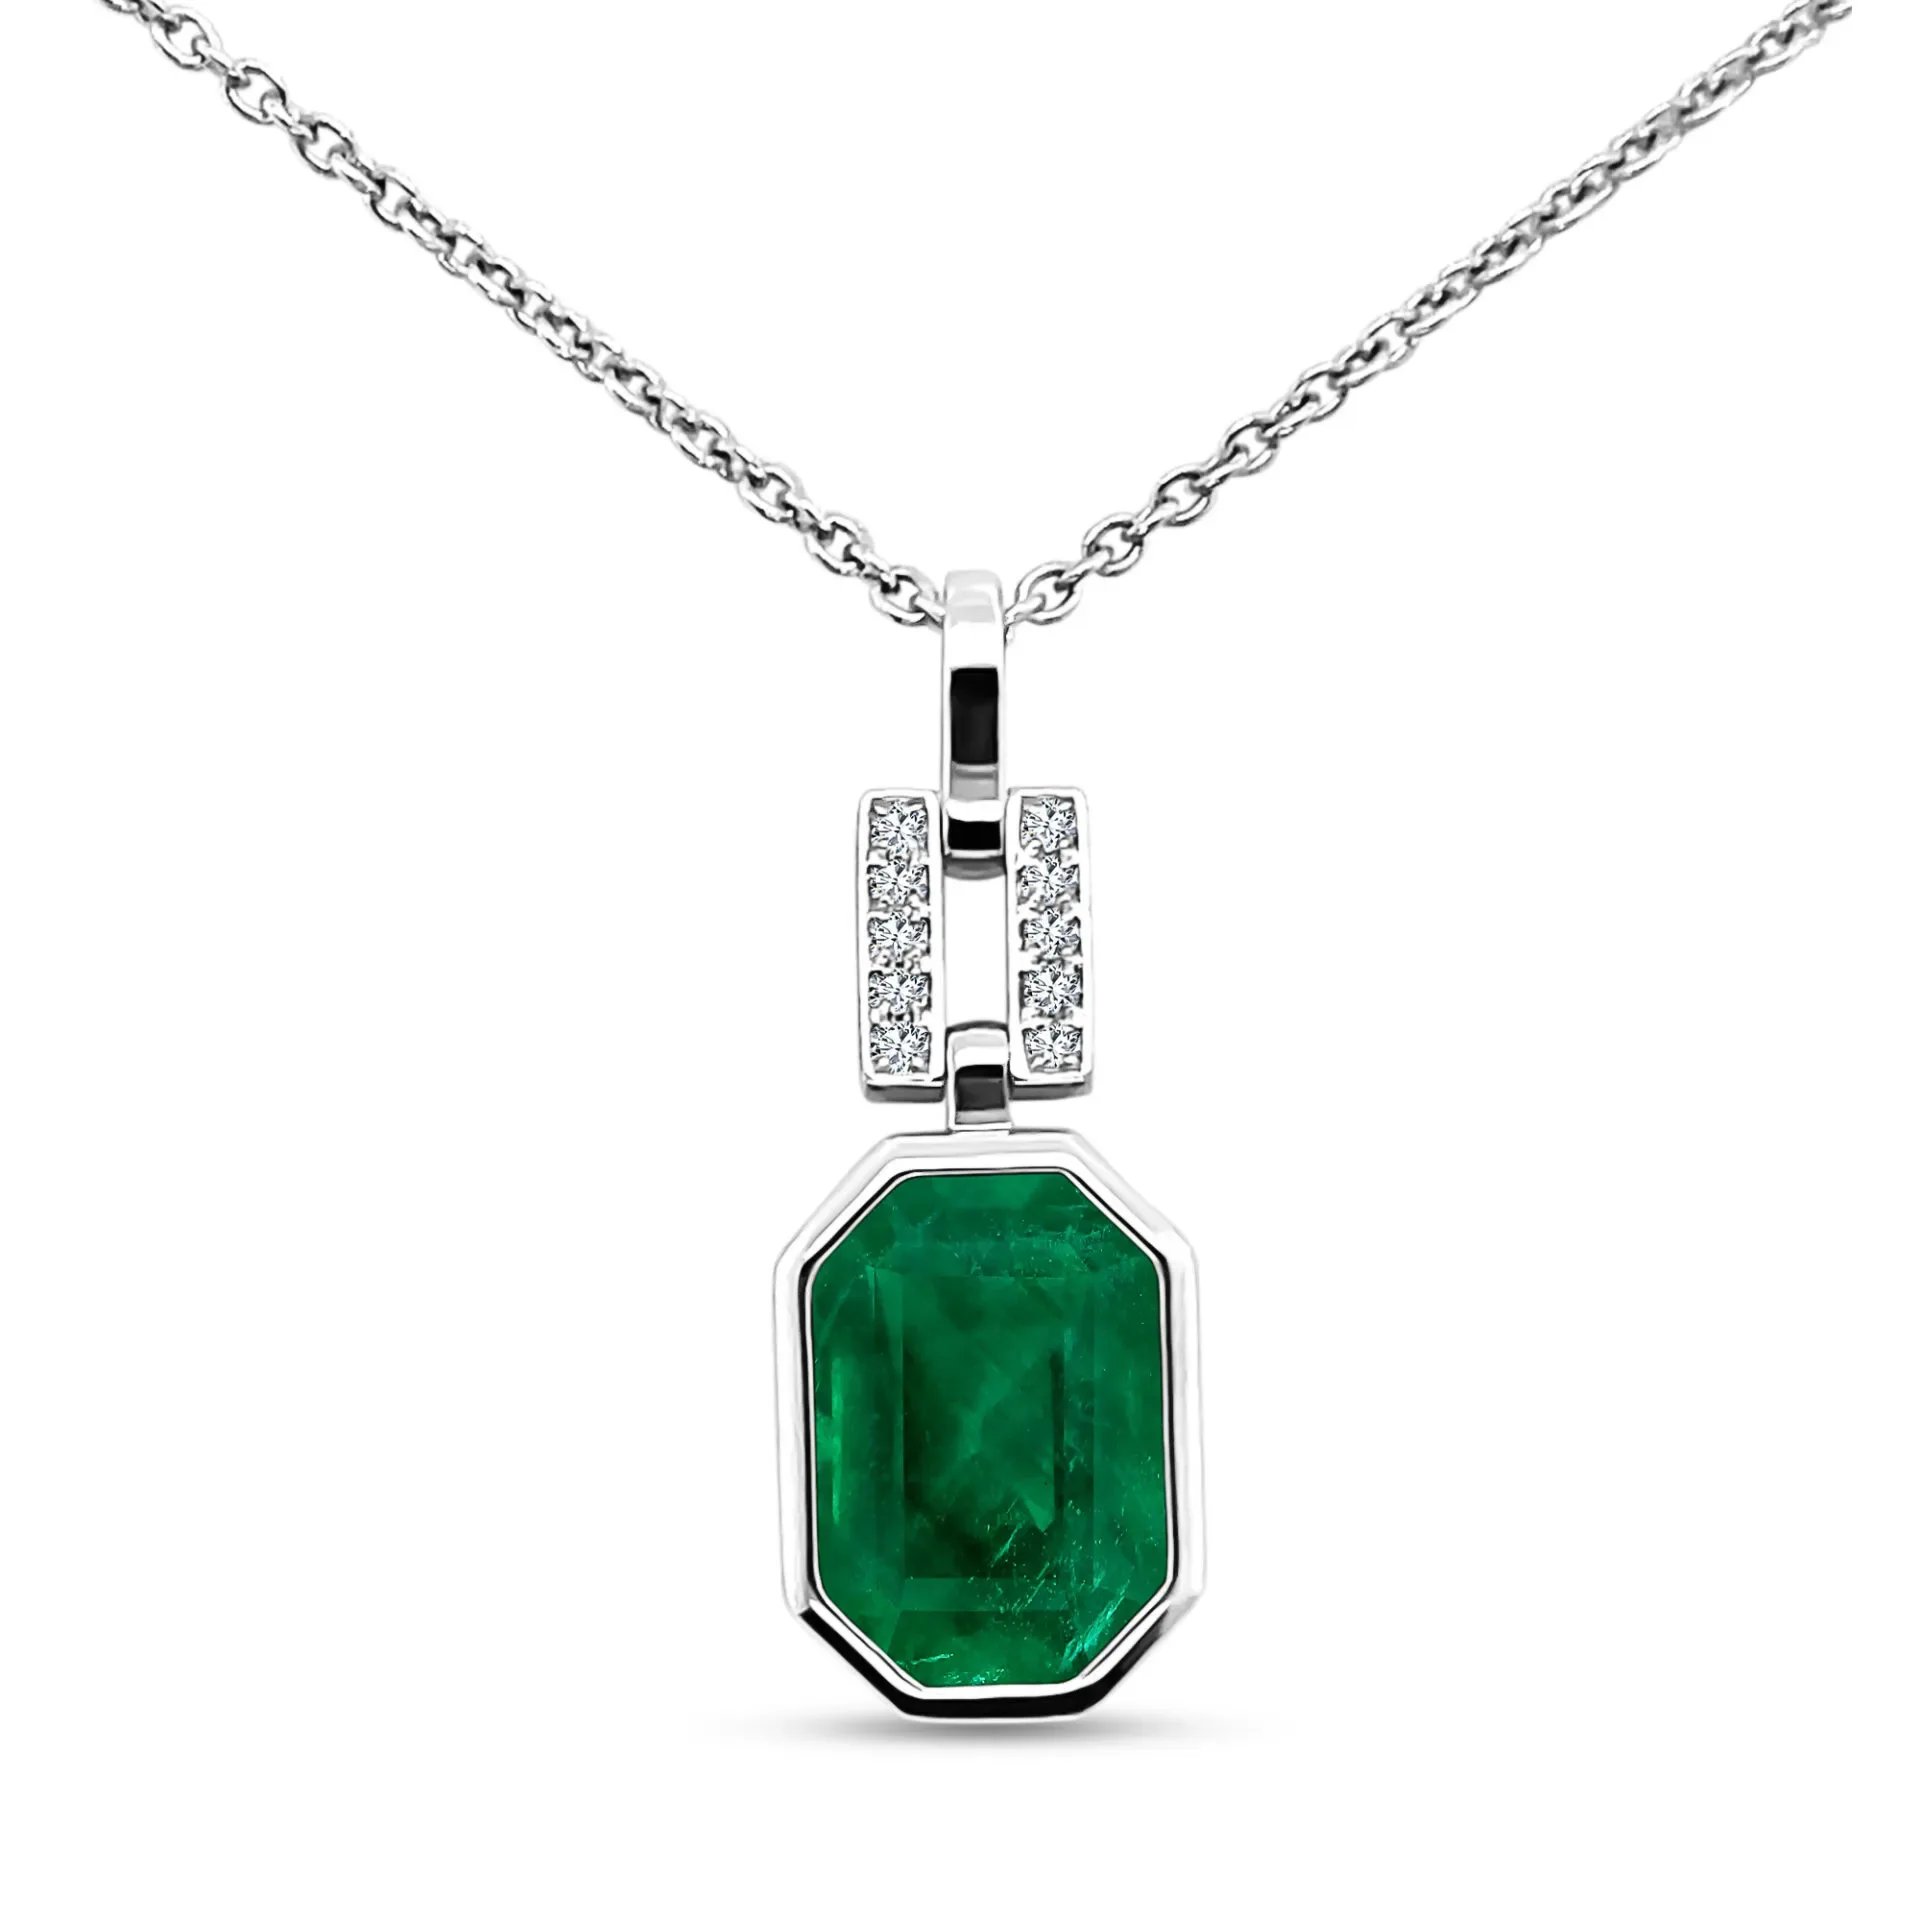
A vintage piece floating on pure white can look flat and digital. A soft drop shadow or subtle mirror reflection grounds the item, adds depth and makes it look like a premium product photographed in a professional studio. It's a small touch that makes old jewelry feel current and collectible.
Step 9: Keep the Whole Collection Consistent
Estate and vintage sellers often photograph pieces over weeks or months, in different light and on different days. When those images sit side by side on a category page, the differences jump out. A consistent background, brightness, crop and shadow style across your whole collection makes your store look curated and trustworthy, a big deal for buyers spending real money on pre-owned pieces.
Common Mistakes When Retouching Vintage Jewelry
- Over-polishing. Making antique metal look chrome-shiny strips away its character and looks fake.
- Over-saturating stones. Buyers notice when a "vivid" sapphire arrives looking much softer.
- Hiding damage. It leads to returns, negative reviews and, on some marketplaces, account problems.
- Erasing patina collectors want. Some buyers specifically look for original patina on antique silver. Know your audience.
- Relying on one-click AI filters. They often blur hallmarks, fill in filigree and invent sparkle that doesn't match the stone.
- Skipping detail shots. A beautiful hero image still needs hallmark and condition photos to sell vintage.
DIY vs. Professional Retouching for Vintage Pieces
| Task | DIY / basic apps | Professional retoucher |
|---|---|---|
| Background removal (filigree, openwork) | Difficult, details often lost | Precise hand-drawn paths |
| Dust and scratch cleanup | Slow, easy to smear detail | Clean, detail preserved |
| Tarnish and metal tone | Often off-color | True metal color restored |
| Old-cut stone enhancement | Generic or overdone | Respects the original cut |
| Consistency across a collection | Hard to maintain | Matched style every time |
| Time per piece | 30 to 90 minutes | Delivered in about 24 hours |
For a few personal photos, DIY can work. For a store with dozens or hundreds of vintage listings, outsourcing usually pays for itself in time saved and sales gained.
Quick Checklist Before You Publish
- The piece was gently cleaned and wiped with microfiber right before shooting.
- The background is clean, consistent and marketplace-ready.
- Dust, lint and fingerprints are gone, but real chips and damage are still visible.
- Metal color matches the real piece, with tarnish casts removed.
- Stones look bright and clear without being more saturated than in person.
- Hallmarks, maker's marks and condition close-ups are included.
- The image matches the size, crop and shadow style of the rest of your collection.
Frequently Asked Questions
Is it okay to retouch vintage jewelry photos?
Yes, as long as the photo still represents the real item accurately. Removing dust, background clutter, glare and camera color problems is standard practice. Hiding damage or changing stone and metal color is not.
Can retouching remove tarnish from silver in photos?
Yes. Retouchers can correct tarnish tones and restore highlights so silver looks freshly polished. If the tarnish is heavy, it's still best to mention the piece's condition in the description.
Should I show scratches and wear on vintage jewelry?
Light surface wear can be softened in the main image, but any significant damage should be visible, ideally in a dedicated close-up. Vintage buyers expect honesty and reward it with fewer returns and better reviews.
How do I make old diamonds sparkle in photos?
Clean the stone thoroughly, use a small focused light during the shoot, and have a retoucher enhance clarity and contrast while respecting the stone's original cut. Avoid generic sparkle filters.
Can AI tools restore vintage jewelry photos?
AI can help with simple background removal and basic color fixes, but it often blurs hallmarks, fills in filigree and over-enhances old stones. For vintage pieces, human retouching gives far more accurate results.
The Bottom Line
Making vintage jewelry look new in photos comes down to three things: clean the piece carefully, photograph it with soft and controlled light, and retouch it with restraint. Remove dust, grime, tarnish casts and background clutter. Restore the shine on metal and the life in old stones. Keep the collection consistent. And always stay honest about real wear and damage.
Done well, retouching lets the craftsmanship of a vintage piece shine through, helping it sell faster and at a better price.
Have estate or vintage pieces that need a refresh? Start your free trial and get 3 free edits, with no credit card required. Send us your most tarnished ring, cloudiest stone or most intricate filigree piece and see the difference in 24 hours.